
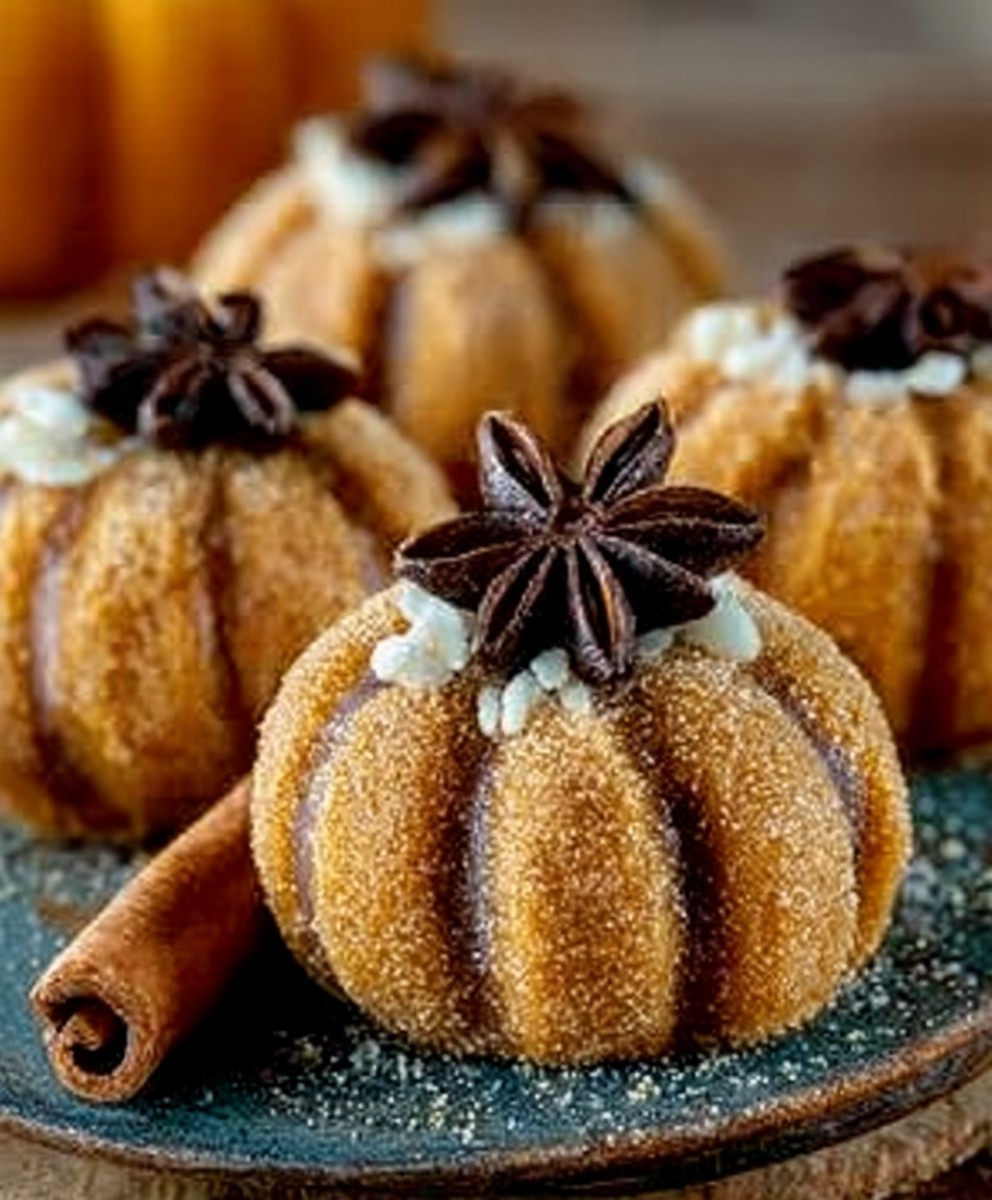
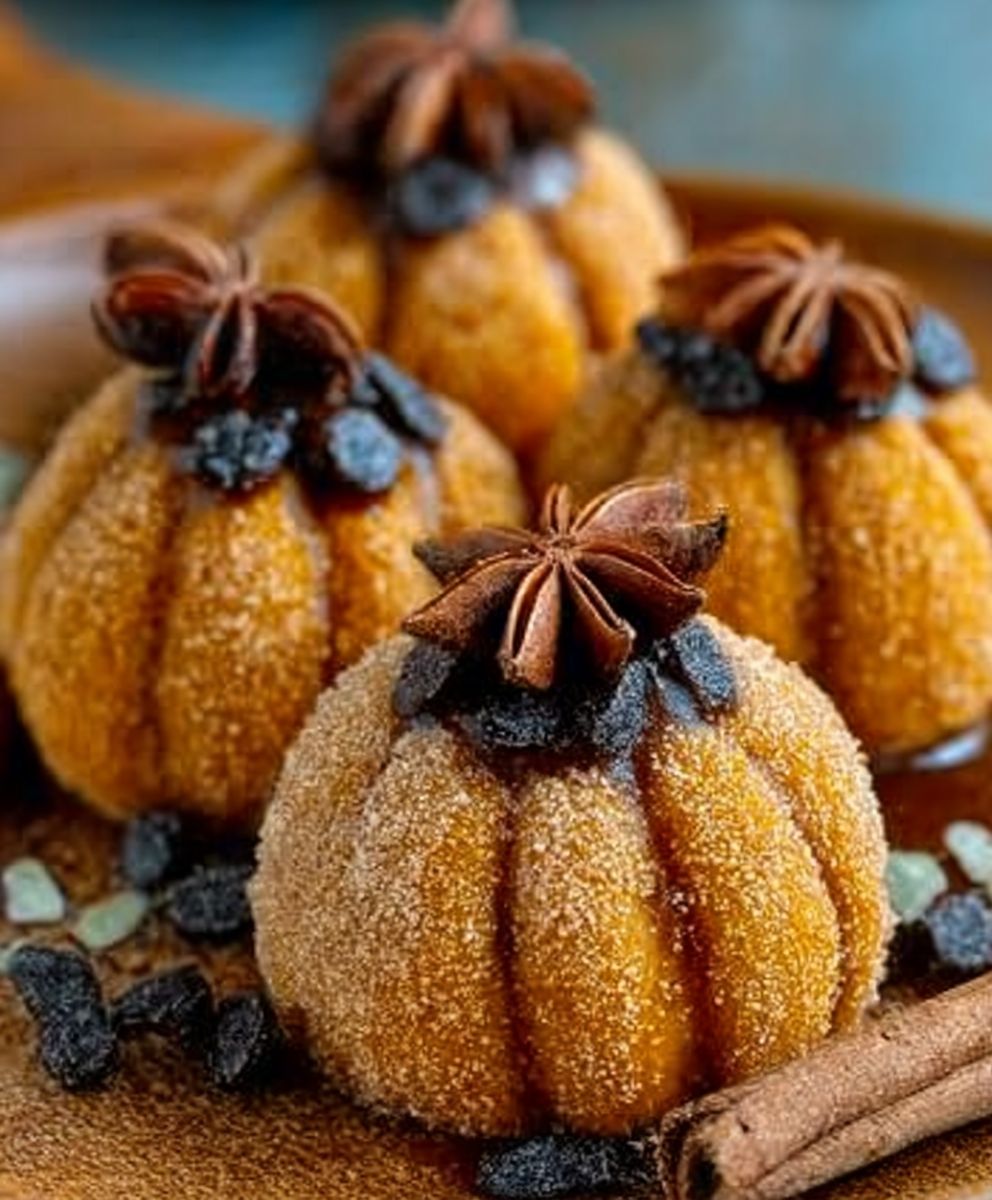
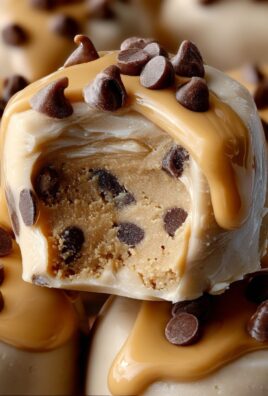
Pumpkin Cheesecake Truffles: A Delightful Fall Treat
Pumpkin Cheesecake Truffles are the perfect indulgence for anyone who loves the rich, creamy flavor of cheesecake combined with the warm, comforting essence of pumpkin spice. As the leaves change and the air turns crisp, these delightful truffles become a seasonal favorite, capturing the essence of autumn in every bite. Originating from the classic cheesecake, these truffles take a beloved dessert and transform it into a bite-sized treat that is both elegant and easy to share.
People adore Pumpkin Cheesecake Truffles not only for their luscious taste and velvety texture but also for their convenience. They are simple to make and can be prepared ahead of time, making them an ideal choice for gatherings or cozy nights in. The combination of pumpkin puree, cream cheese, and a hint of cinnamon creates a flavor profile that is both nostalgic and exciting. Whether you’re hosting a fall party or simply craving a sweet treat, these truffles are sure to impress and satisfy your taste buds.
Ingredients:
- 1 cup pumpkin puree
- 8 oz cream cheese, softened
- 1 cup powdered sugar
- 1 teaspoon vanilla extract
- 1 teaspoon ground cinnamon
- 1/2 teaspoon ground nutmeg
- 1/4 teaspoon ground ginger
- 1/4 teaspoon salt
- 1 1/2 cups graham cracker crumbs
- 12 oz white chocolate, chopped
- 1 tablespoon coconut oil (optional, for thinning chocolate)
- Extra graham cracker crumbs for rolling (optional)
Preparing the Cheesecake Mixture
- In a large mixing bowl, combine the softened cream cheese and pumpkin puree. Using an electric mixer, beat them together on medium speed until the mixture is smooth and creamy.
- Add the powdered sugar, vanilla extract, ground cinnamon, ground nutmeg, ground ginger, and salt to the bowl. Continue mixing until all the ingredients are well incorporated and the mixture is fluffy.
- Gradually fold in the graham cracker crumbs using a spatula. This will help to thicken the mixture and give it that cheesecake-like texture. Make sure everything is evenly mixed.
- Once combined, cover the bowl with plastic wrap and refrigerate the mixture for at least 1 hour. This will make it easier to form into truffles.
Forming the Truffles
- After the mixture has chilled, remove it from the refrigerator. Using a small cookie scoop or your hands, scoop out about 1 tablespoon of the mixture and roll it into a ball. Place the formed truffles on a parchment-lined baking sheet.
- Continue this process until all the mixture has been rolled into balls. You should have about 20-25 truffles, depending on the size you choose.
- If desired, roll some of the truffles in extra graham cracker crumbs for added texture and flavor. This step is optional but adds a nice touch.
- Once all the truffles are formed and rolled, place the baking sheet back in the refrigerator for another 30 minutes to firm up.
Melting the Chocolate
- While the truffles are chilling, prepare the white chocolate coating. In a microwave-safe bowl, combine the chopped white chocolate and coconut oil (if using). The coconut oil helps to thin the chocolate for easier dipping.
- Microwave the chocolate in 30-second intervals, stirring in between, until it is completely melted and smooth. Be careful not to overheat the chocolate, as it can seize up.
- Once melted, remove the bowl from the microwave and let it cool slightly before dipping the truffles. This will prevent the chocolate from melting the truffles when you dip them.
Dipping the Truffles
- Take the chilled truffles out of the refrigerator. Using a fork or a dipping tool, dip each truffle into the melted white chocolate, ensuring it is fully coated.
- Allow any excess chocolate to drip off before placing the truffle back onto the parchment-lined baking sheet. You can gently tap the fork on the edge of the bowl to help remove excess chocolate.
- If you want to add a decorative touch, sprinkle a little bit of cinnamon or extra graham cracker crumbs on top of the dipped truffles before the chocolate sets.
- Repeat this process for all the truffles until they are all coated in white chocolate.
Setting the Truffles
- Once all the truffles are dipped and decorated, place the baking sheet in the refrigerator for about 30 minutes to allow the chocolate to set completely.
- After the chocolate has hardened, you can transfer the truffles to an airtight container for storage. They can be kept in the refrigerator for up to a week, or you can freeze them for longer storage.
Serving Suggestions
- When ready to serve, take the truffles out of the refrigerator and let them sit at room temperature for about 10 minutes. This will enhance the flavor and texture.
- 1 cup pumpkin puree
- 8 oz cream cheese, softened
- 1 cup powdered sugar
- 1 teaspoon vanilla extract
- 1 teaspoon ground cinnamon
- 1/2 teaspoon ground nutmeg
- 1/4 teaspoon ground ginger
- 1/4 teaspoon salt
- 1 1/2 cups graham cracker crumbs
- 12 oz white chocolate, chopped
- 1 tablespoon coconut oil (optional, for thinning chocolate)
- Extra graham cracker crumbs for rolling (optional)
- In a large mixing bowl, combine the softened cream cheese and pumpkin puree. Using an electric mixer, beat them together on medium speed until the mixture is smooth and creamy.
- Add the powdered sugar, vanilla extract, ground cinnamon, ground nutmeg, ground ginger, and salt to the bowl. Continue mixing until all the ingredients are well incorporated and the mixture is fluffy.
- Gradually fold in the graham cracker crumbs using a spatula. This will help to thicken the mixture and give it that cheesecake-like texture. Make sure everything is evenly mixed.
- Once combined, cover the bowl with plastic wrap and refrigerate the mixture for at least 1 hour. This will make it easier to form into truffles.
- After the mixture has chilled, remove it from the refrigerator. Using a small cookie scoop or your hands, scoop out about 1 tablespoon of the mixture and roll it into a ball. Place the formed truffles on a parchment-lined baking sheet.
- Continue this process until all the mixture has been rolled into balls. You should have about 20-25 truffles, depending on the size you choose.
- If desired, roll some of the truffles in extra graham cracker crumbs for added texture and flavor. This step is optional but adds a nice touch.
- Once all the truffles are formed and rolled, place the baking sheet back in the refrigerator for another 30 minutes to firm up.
- While the truffles are chilling, prepare the white chocolate coating. In a microwave-safe bowl, combine the chopped white chocolate and coconut oil (if using). The coconut oil helps to thin the chocolate for easier dipping.
- Microwave the chocolate in 30-second intervals, stirring in between, until it is completely melted and smooth. Be careful not to overheat the chocolate, as it can seize up.
- Once melted, remove the bowl from the microwave and let it cool slightly before dipping the truffles. This will prevent the chocolate from melting the truffles when you dip them.
- Take the chilled truffles out of the refrigerator. Using a fork or a dipping tool, dip each truffle into the melted white chocolate, ensuring it is fully coated.
- Allow any excess chocolate to drip off before placing the truffle back onto the parchment-lined baking sheet. You can gently tap the fork on the edge of the bowl to help remove excess chocolate.
- If you want to add a decorative touch, sprinkle a little bit of cinnamon or extra graham cracker crumbs on top of the dipped truffles before the chocolate sets.
- Repeat this process for all the truffles until they are all coated in white chocolate.
- Once all the truffles are dipped and decorated, place the baking sheet in the refrigerator for about 30 minutes to allow the chocolate to set completely.
- After the chocolate has hardened, you can transfer the truffles to an airtight container for storage. They can be kept in the refrigerator for up to a week, or you can freeze them for longer storage.
- When ready to serve, take the truffles out of the refrigerator and let them sit at room temperature for about 10 minutes. This will enhance the flavor and texture.
- For a richer flavor, consider adding a pinch of sea salt on top of the truffles after dipping.
- These truffles can be customized with different coatings, such as crushed nuts or sprinkles.
Conclusion:
If you’re looking for a delightful treat that perfectly captures the essence of fall, then these Pumpkin Cheesecake Truffles are an absolute must-try! The combination of creamy cheesecake and the warm, spiced flavor of pumpkin creates a dessert that is not only delicious but also incredibly satisfying. Each bite is a little piece of heaven, making them perfect for any occasion, whether it’s a cozy family gathering, a festive holiday party, or simply a sweet indulgence for yourself.
One of the best things about these truffles is their versatility. You can serve them as they are, or get creative with your presentation! Consider rolling them in crushed graham crackers for a classic cheesecake crust feel, or dusting them with cocoa powder for a rich contrast. For an extra touch of elegance, you could drizzle some melted chocolate over the top or even sprinkle a bit of sea salt to enhance the flavors. If you want to switch things up, try adding different spices like nutmeg or ginger to the pumpkin mixture for a unique twist. You could also experiment with different coatings, such as crushed nuts or coconut flakes, to give your truffles a personal touch.
I encourage you to give these Pumpkin Cheesecake Truffles a try! They are not only simple to make but also a fantastic way to impress your friends and family. Once you take that first bite, I’m sure you’ll understand why they are such a hit. Plus, they make for a great homemade gift during the holiday season. Just package them in a cute box or jar, and you’ll have a thoughtful present that anyone would love to receive.
After you’ve made these truffles, I would love to hear about your experience! Did you stick to the classic recipe, or did you try out some of the variations? Share your thoughts and any creative twists you added in the comments below. Your feedback not only helps me but also inspires others in our community to get into the kitchen and whip up their own batch of these delightful Pumpkin Cheesecake Truffles. So, roll up your sleeves, gather your ingredients, and let’s make some magic happen in the kitchen! Happy baking!
Pumpkin Cheesecake Truffles: A Delicious Fall Treat Recipe
Enjoy these Pumpkin Cheesecake Truffles, featuring a creamy pumpkin filling coated in rich white chocolate. Perfect for fall gatherings, these bite-sized delights are easy to make and sure to impress your guests!
Leave a Comment